10. November 2026
How to create a motorcycle route GPX with gpx.studio
Step by step: draw the route, mark the stops and download the GPX in gpx.studio, then submit it to MotoTrip.
Dieser Guide ist auf Englisch verfügbar.

Got a favourite road you want to share, or load into your GPS? The first step is a GPX file of the route. This guide shows how to create one from scratch with gpx.studio, a free tool that runs in your browser with nothing to install: draw the route, mark the stops, download the file and submit it to MotoTrip. Our example is a stretch of the N222 in Portugal, from Peso da Régua to Pinhão.
1. Open gpx.studio and pick the motorcycle profile
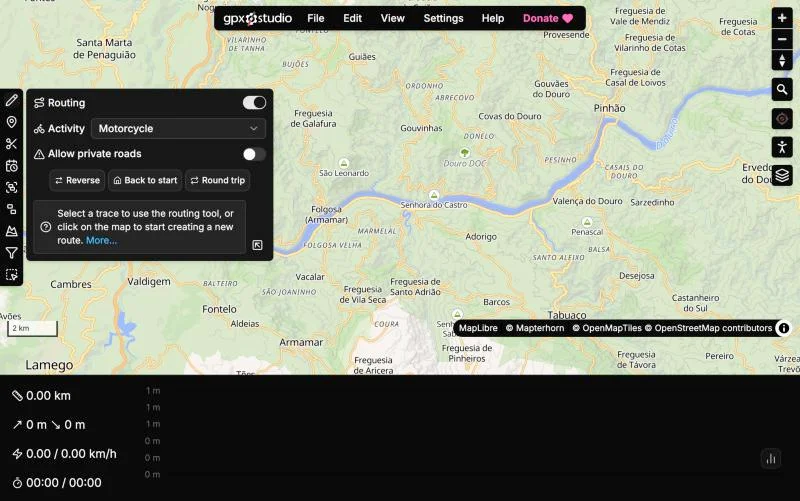
Open gpx.studio/app and click the pencil in the left toolbar (Plan or edit a route). In the panel that opens, set Activity to Motorcycle, so the route follows roads you can ride a motorcycle on rather than trails or cycle paths. Leave Allow private roads off.
2. Draw the route
Click the map at your start and then at your destination: gpx.studio routes along the road and shows the distance, climbing and elevation profile at the bottom. To force the route onto the road you want (a scenic road instead of the motorway, say), click intermediate points along it, or drag the line where you want it.
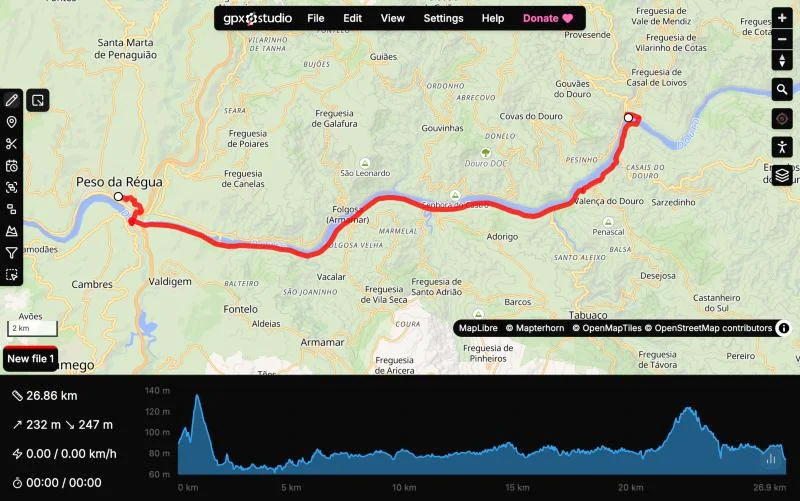
- Round trip and Back to start turn it into a loop, handy for rides that start and end in the same place.
- Reverse flips the direction.
3. Mark the stops
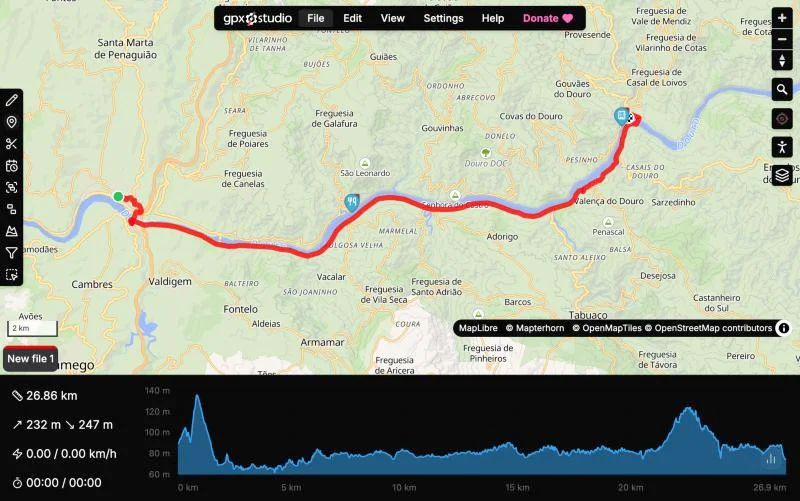
Click the marker icon (Create and edit points of interest). Click the map where the stop is, and the latitude and longitude are filled in. Type the Name and Description, pick an Icon and click Create point of interest. Repeat for every stop: viewpoints, cafés, fuel, where to have lunch.
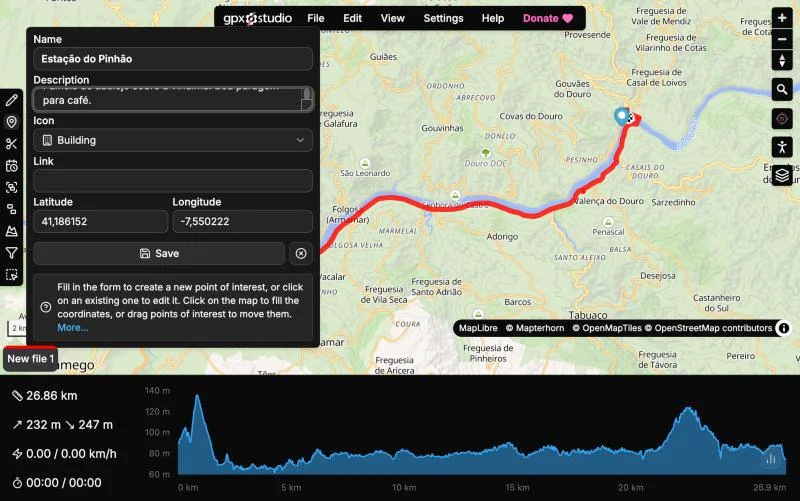
The icon tells MotoTrip what kind of stop it is:
- Fuel Station → fuel station
- Restaurant → restaurant
- Hotel, Accommodation or Campsite → accommodation
- Scenic Area, Summit or Binoculars → viewpoint
- Stops with "café" or "coffee" in the name → café
- Anything else → landmark
You don't need to create the stops in route order: MotoTrip sorts them along the route.
4. Download the GPX file
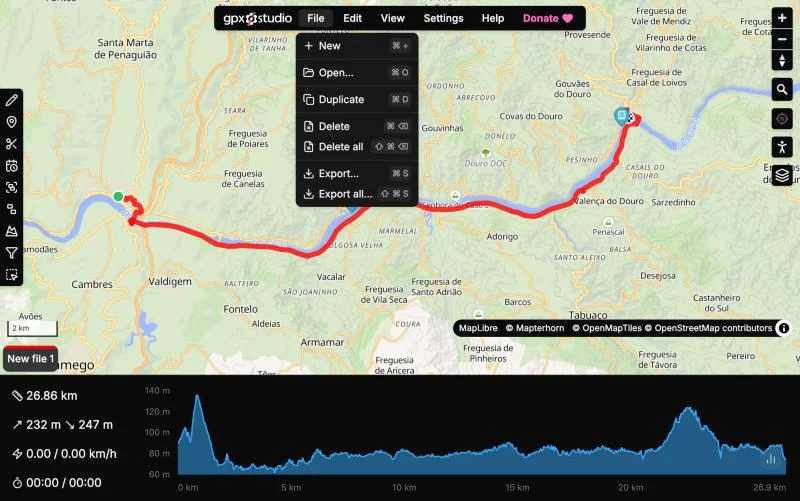
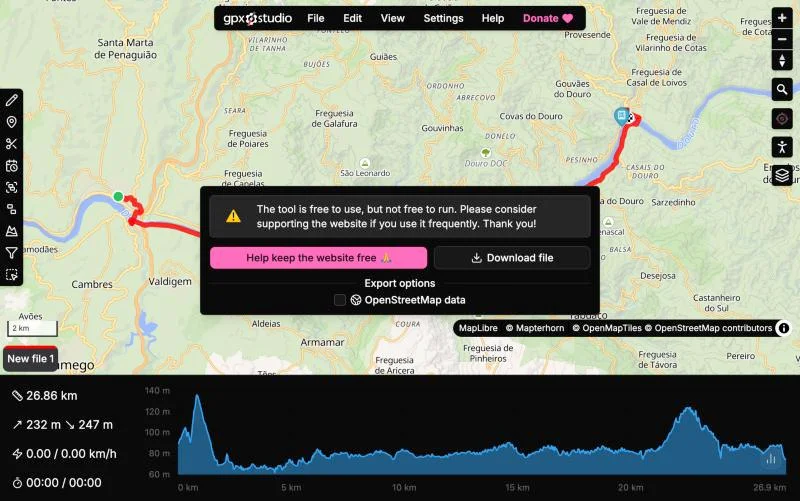
In the File menu, choose Export... and then Download file. The .gpx file holds both the track and the stops.
5. Submit the route to MotoTrip
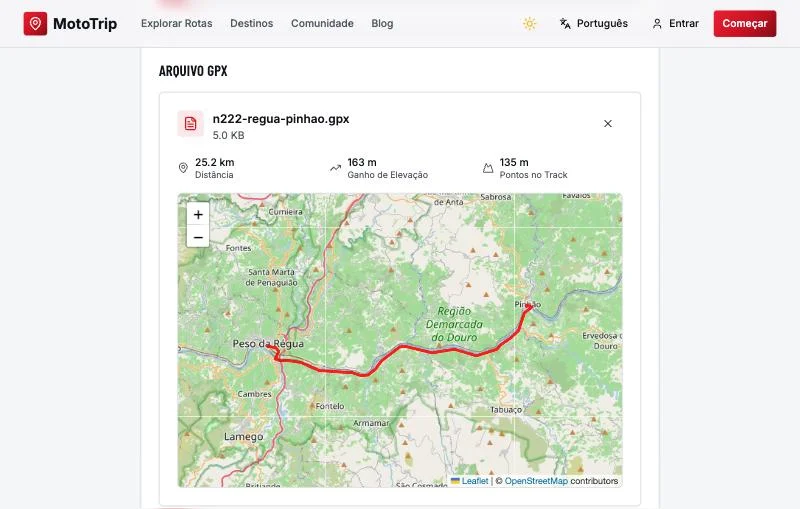
Sign in and open Submit a route. Fill in the title, description, region, country, route type, category and difficulty. Under GPX File, pick the file you downloaded: distance and climbing are filled in for you and the track shows on the map.
Just below, you'll see the stops found in the file, already in route order. Check each one's type, remove any you don't want, and submit. Stops more than 2 km from the track are flagged, to catch a point placed in the wrong spot.
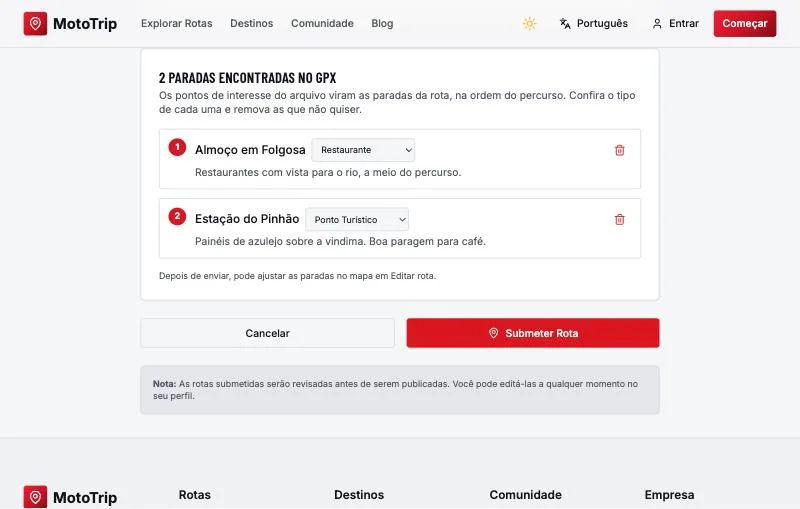
The team reviews every route before it goes live. After submitting, you can adjust the stops on the map under Edit route, on the route's page.
Tips
- Use intermediate points to pin down the right road: the fastest way is rarely the most scenic.
- Check the elevation profile: long climbs and descents stand out straight away.
- Want to start from an existing route? On any MotoTrip route page, use Download GPX and open the file in gpx.studio with File › Open... to adapt it.
- Before you set off, load the same GPX into your GPS or navigation app.
Here's the full N222 stretch on MotoTrip, all the way to São João da Pesqueira:
Got a route that deserves to be known? Submit it on MotoTrip: once the team has reviewed it, it's available to the whole community, with map, stops and GPX.